How To: Root the Nexus Player
UPDATE NOVEMBER 2015:The root process has changed for the Nexus Player now that the device is running Android 6.0 Marhsmallow. I've updated this article with detailed instructions on the new root process, but the video below still depicts the old process for Android Lollipop.If you'd like, you can use the video for reference, since it's still helpful for a few aspects of the Marshmallow root process. But when it actually comes time to root, I'd suggest that you only follow the steps outlined in this article.END UPDATEAt its core, the Nexus Player is truly an Android device. This means that pretty much anything your smartphone can do, Google's new set-top box can do just as well.Getting root access is no exception to this rule. Legendary Android developer Chainfire has already devised a quick and painless method that will grant you Superuser privileges on the Nexus Player in no time, and I'll outline the process below.
What You'll Need for This MethodNexus Player running Android 6.0 Marshmallow Windows PC Micro USB data cable Mouse connected to Nexus Player
Step 1: Put Your Nexus Player into Bootloader ModeTo begin, unplug the power cable from your Nexus Player and flip the device over. Wait a few seconds for any capacitors to clear their charge, then press and hold the Bluetooth pairing button on the bottom of the device. While still holding down the Bluetooth button, plug the power cable back into your Nexus Player. Watch the LED light on the bottom of the device—when it starts blinking, you can let go of the Bluetooth pairing button. Shortly after that, you'll see Android's bootloader menu coming up on your display. The menu looks like this: Next, just connect your Nexus Player to your PC with a micro USB data cable.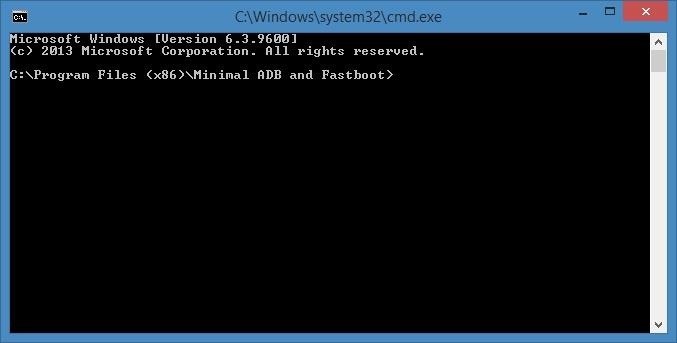
Step 2: Download the Necessary FilesOn your PC now, there are a few files that you'll need to download. First, since we'll be rooting the device with Fastboot commands, you'll need ADB and Fastboot drivers. You can download the installer file at this link—simply run the file and follow the prompts, then the Fastboot drivers will be installed on your system.Next, you'll need an ADB and Fastboot package to actually run the commands. Download "Minimal ADB and Fastboot" at this link, then run the file to install the program. When installation is finished, you'll see a command prompt window. Leave this window open for later. Then there are 3 files you'll need for actually rooting your Nexus Player. First up is a modified boot image, which can be downloaded at this link.Secondly, you'll need Chainfire's SuperSU ZIP, which can be found here.Finally, you'll need a copy of TWRP recovery for the Nexus Player, which you'll be using to install the SuperSU ZIP. That file can be found here.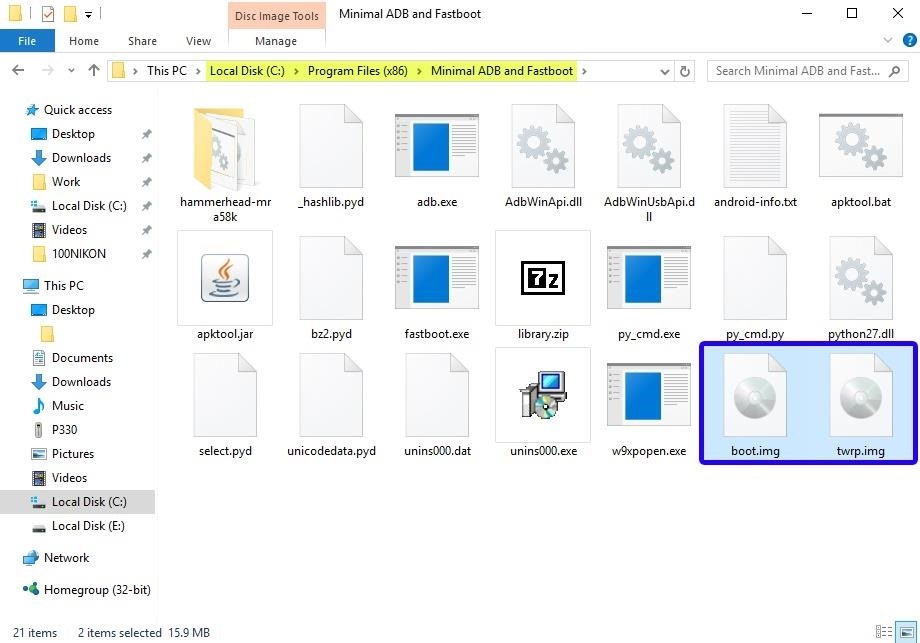
Step 3: Move the Root Files to the Right LocationsNext, there's a tiny bit of maintenance you'll have to do. Start by copying the twrp.img and boot.img files over to the Minimal ADB & Fastboot program folder on your computer. This location can vary depending on your Windows version, but for most users, it can be found at C:\Program Files (x86)\Minimal ADB and Fastboot. From here, you'll need to transfer the BETA-SuperSU-v2.52.zip file over to your Nexus Player's internal storage. If you haven't already set up a method for transferring files to your Nexus Player, you can use steps 1 through 3 depicted here.
Step 4: Unlock the BootloaderNext, you'll have to unlock the Bootloader on your Nexus Player if you haven't done so already. Be warned that this will wipe all of the data on your device, so you'll have to run through initial setup again and reinstall your apps, and you will lose any media that you have stored on your Player.To begin, bring that Minimal ADB and Fastboot command prompt window back to the forefront. Type fastboot devices into the command prompt to verify that your Nexus Player is connected properly, then hit the Enter key. If you see a hardware ID number, you're good to go. Next, type fastboot oem unlock, then press Enter again. The first time you run this command, you'll see an error message, but this is to be expected. Simply type the same command a second time, and your Nexus Player's bootloader will be unlocked. After that, type fastboot reboot-bootloader, then hit Enter again.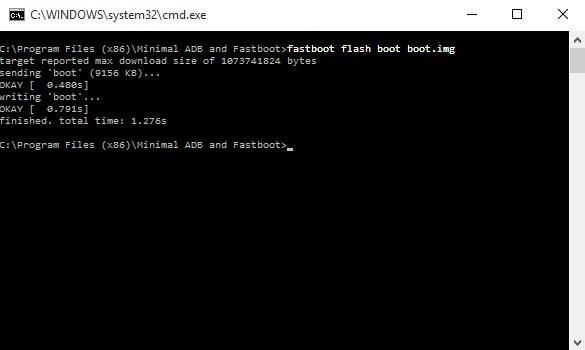
Step 5: Install TWRP & the Modified Boot ImageWith the same command prompt window open, type fastboot flash boot boot.img and hit enter to install the modified boot image. When that process has finished, type fastboot flash recovery twrp.img and hit enter to install TWRP recovery on your Nexus Player. At this point, you're done with the command prompt, so you can disconnect the USB cable from your Nexus Player if you'd like.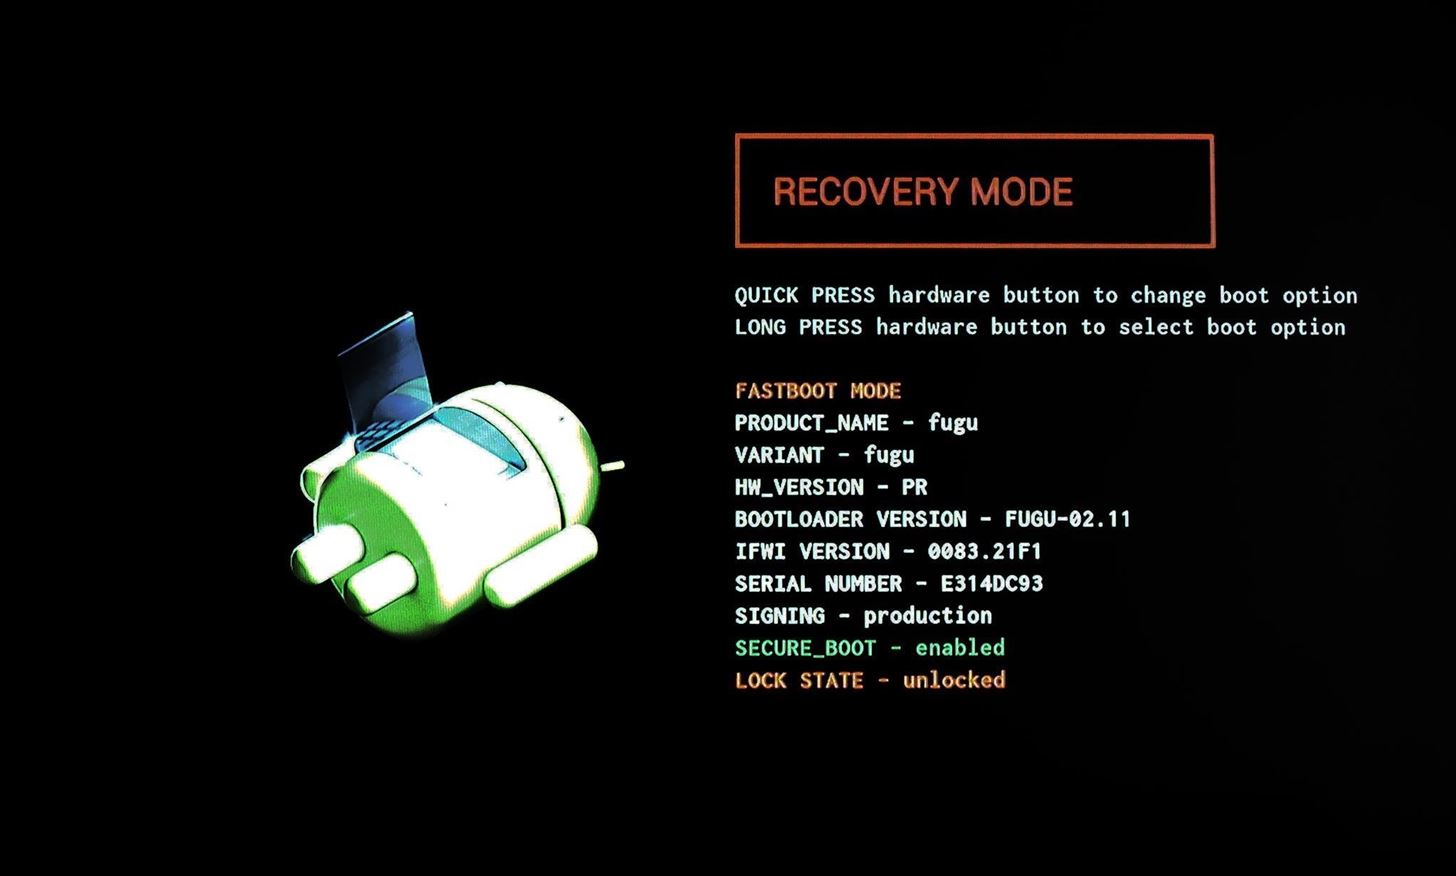
Step 6: Boot Your Nexus Player into TWRPFrom here, you're just about ready to root your device. With your Nexus Player still in Bootloader mode, press the Bluetooth pairing button on the bottom of the device one time to highlight the "Recovery Mode" option. From here, press and hold the pairing button for 3 seconds, then release it. At this point, your Nexus Player should boot into TWRP recovery. TWRP on the Nexus Player
Step 7: Root the DeviceAll that's left to do now is to root your Nexus Player. From TWRP's main menu, use your mouse to click the "Install" button, then browse for and select the BETA-SuperSU-v2.52.zip file. From here, use your mouse to swipe the slider at the bottom of your screen, which will install SuperSU and root your Nexus Player. When the process has finished, click the "Reboot System" button and you should be rooted when you get back up. Now that you're rooted, are there any particular mods that you'd like to see covered for the Nexus Player? Tell us about it in the comment section below, or drop us a line on Facebook, Google+, or Twitter.
How To: Get Quick-Access Pandora Controls in the Notification Tray of Your Galaxy Note 3 How To: Control All of Your Music Apps from a Single Widget on Your Samsung Galaxy Note 2 Best Navigation Apps: Google Maps vs. Apple Maps vs. Waze vs. MapQuest
Add Notes to Your iPhone's Notification Center for Easy
HOW to forward calls to another number ,**62* || Secret code all mobile phones in U
How To: Build and use a handheld automated warspying device How To: Use different camera shutter speeds for great effects How To: Use camera angles for more than just a cool shot How To: Use a 16mm Bolex camera How To: Synchronize timecode for a multi-camera shoot How To: Use multiple camera angles when shooting a movie
How to Make magical handheld fireballs (that won't burn) with
How to Behave on IRC. If you've been banned from an IRC (Internet Relay Chat) channel, you may know how how humiliating it can be. Don't fret, there are some ways for you to get back in and start chatting like the good old days.
Free Chat Rooms,Free Online Chat With No Registration 2019
So I created a tweak just for myself that allows you to shutdown, reboot, respring and go into safemode. Its not the prettiest but it does the
How Do You Turn Off Talk Back Mode on My Zte Marvin Not Using
Step 4: iPhone 6 with Home Screen Landscape Mode. Since I used the iPhone 6 for this guide, I wanted the iPhone 6 Plus resolution on it. After selecting the "iPhone 6+" preset, the phone restarted with the new resolution and my first thought was "whoa."
How to Customize Your iPhone's Home Screen and Break Away
How to Set Up and Use Handoff on Your iPhone and iPad Oliver Haslam @OliverJHaslam November 7, 2018, 10:24am EDT Handoff is a feature of iPhones, iPads, Apple Watches, and Macs that lets you start something on one device and then complete it on another.
Just what is Apple's Handoff and how to use it across your
That is how to copy, cut and paste on iPhone Xs, Xs Max and Xr. You can also paste a copied text Multiple times i. Different places. However, once you copy a new text the old one gets overwritten. Also, once you restart your device, any copied text gets wiped away so be sure to paste it somewhere else before you copy another text or restart
How to Copy-Paste Text from iPhone to Mac or Windows PC and
Click your name at the top of any Facebook screen to go to your profile. Click the Edit Profile tab that appears in the bottom corner of your cover photo. Unclick the boxes next to the information you want to remain private. This includes boxes next to education, your current city, your hometown, and other personal information you've added to
How to Change Your Name on Facebook - wikiHow
How to Take Window Screenshots Without Drop Shadows on Your Mac
Windows Malicious Software Removal Tool (MSRT) helps keep Windows computers free from prevalent malware. MSRT finds and removes threats and reverses the changes made by these threats. MSRT is generally released monthly as part of Windows Update or as a standalone tool available here for download.
How to Get Rid of a Virus & Delete Viruses - AVG AntiVirus
0 comments:
Post a Comment